


Find your style












Before/after
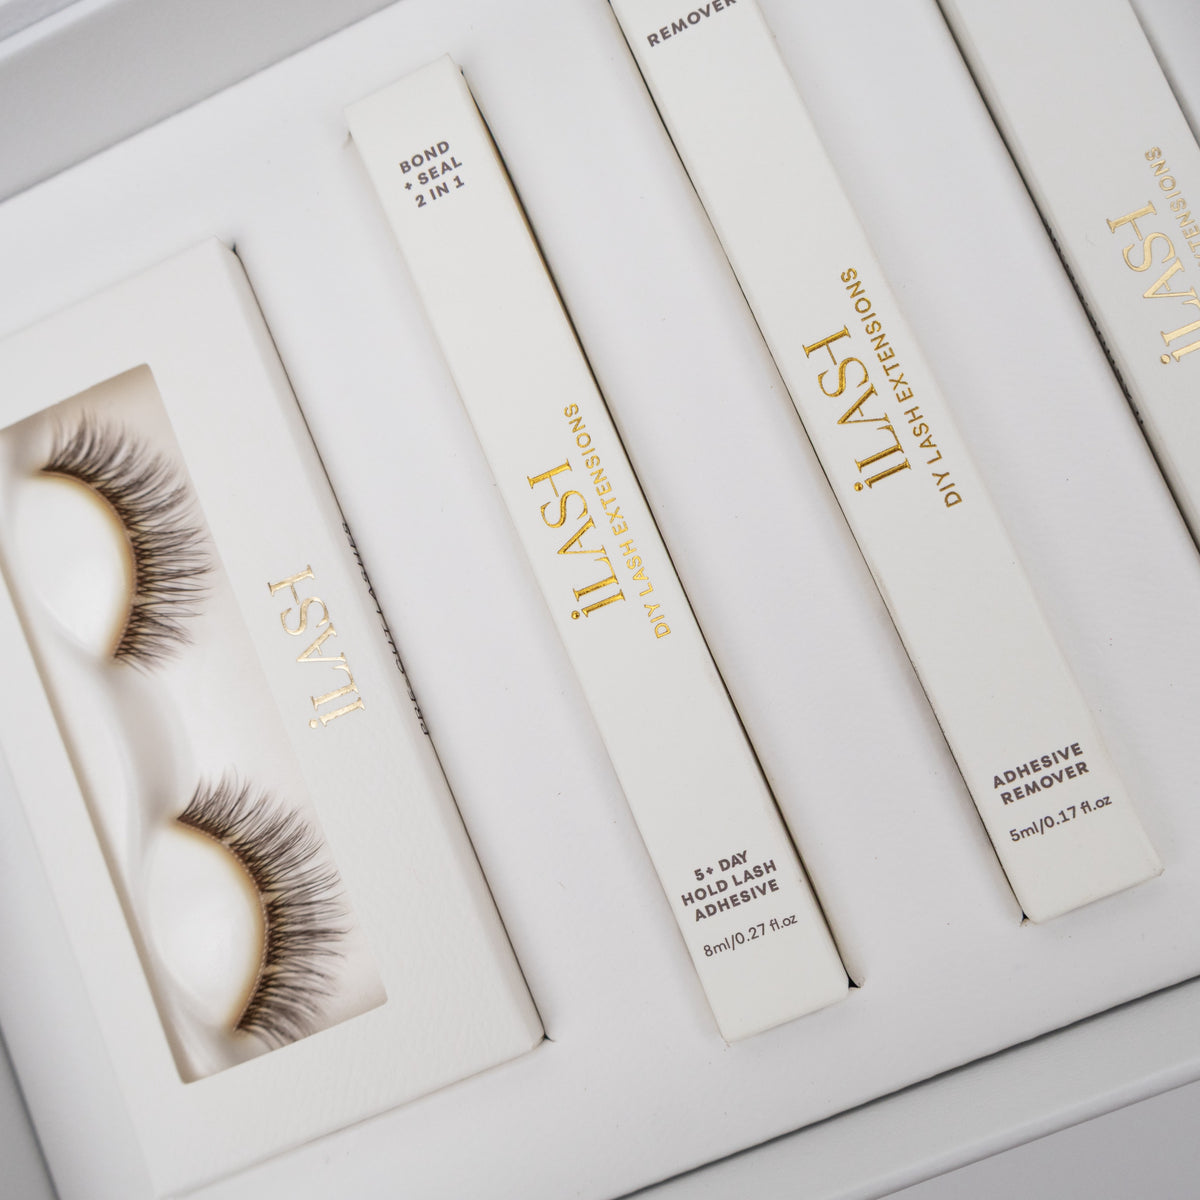
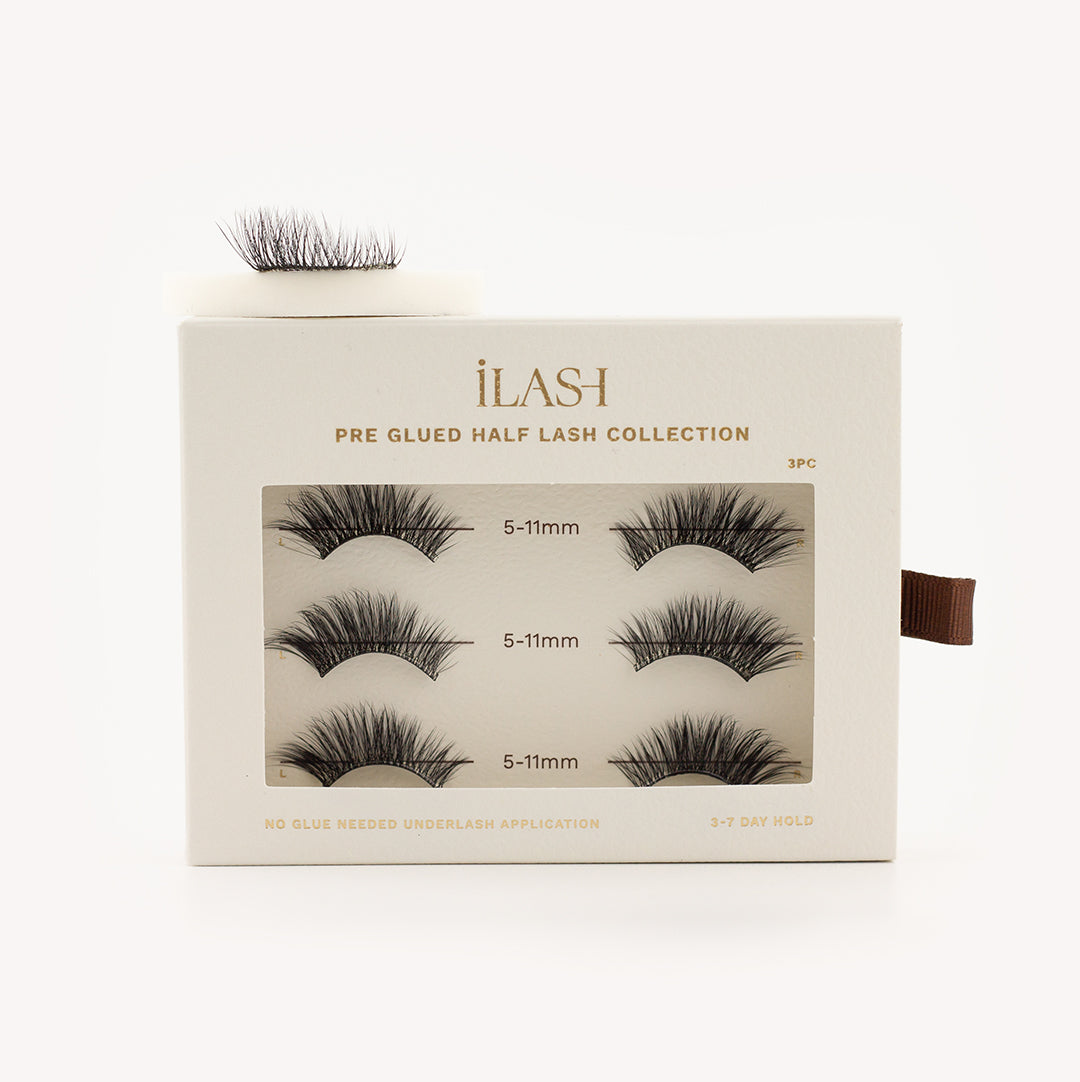
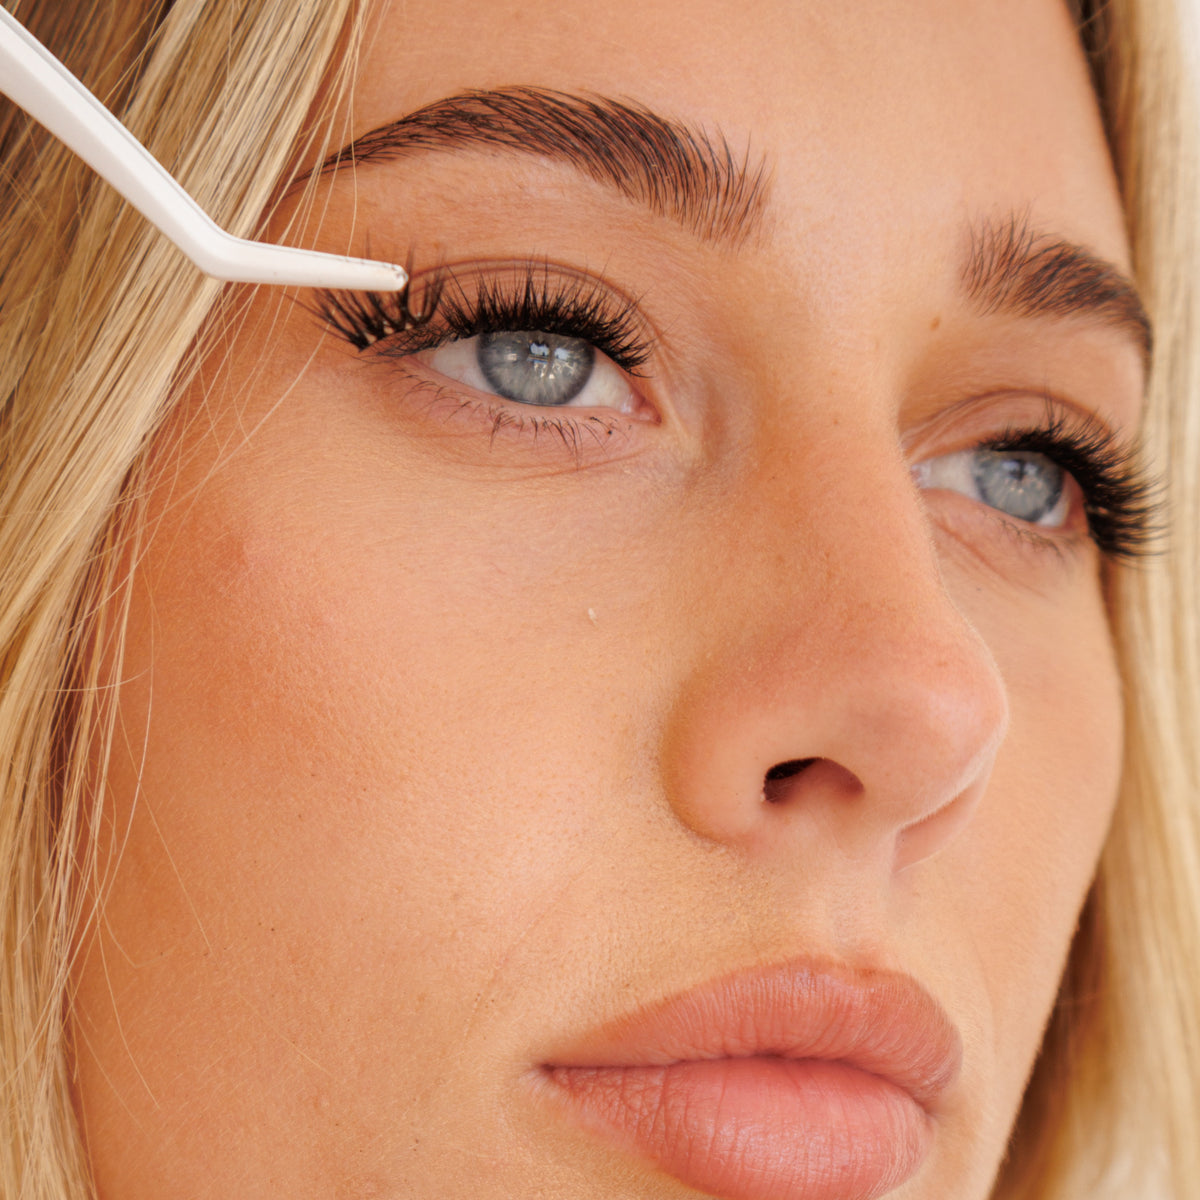
Pre Mapped The Classy one

Before

After
Explore our lashes
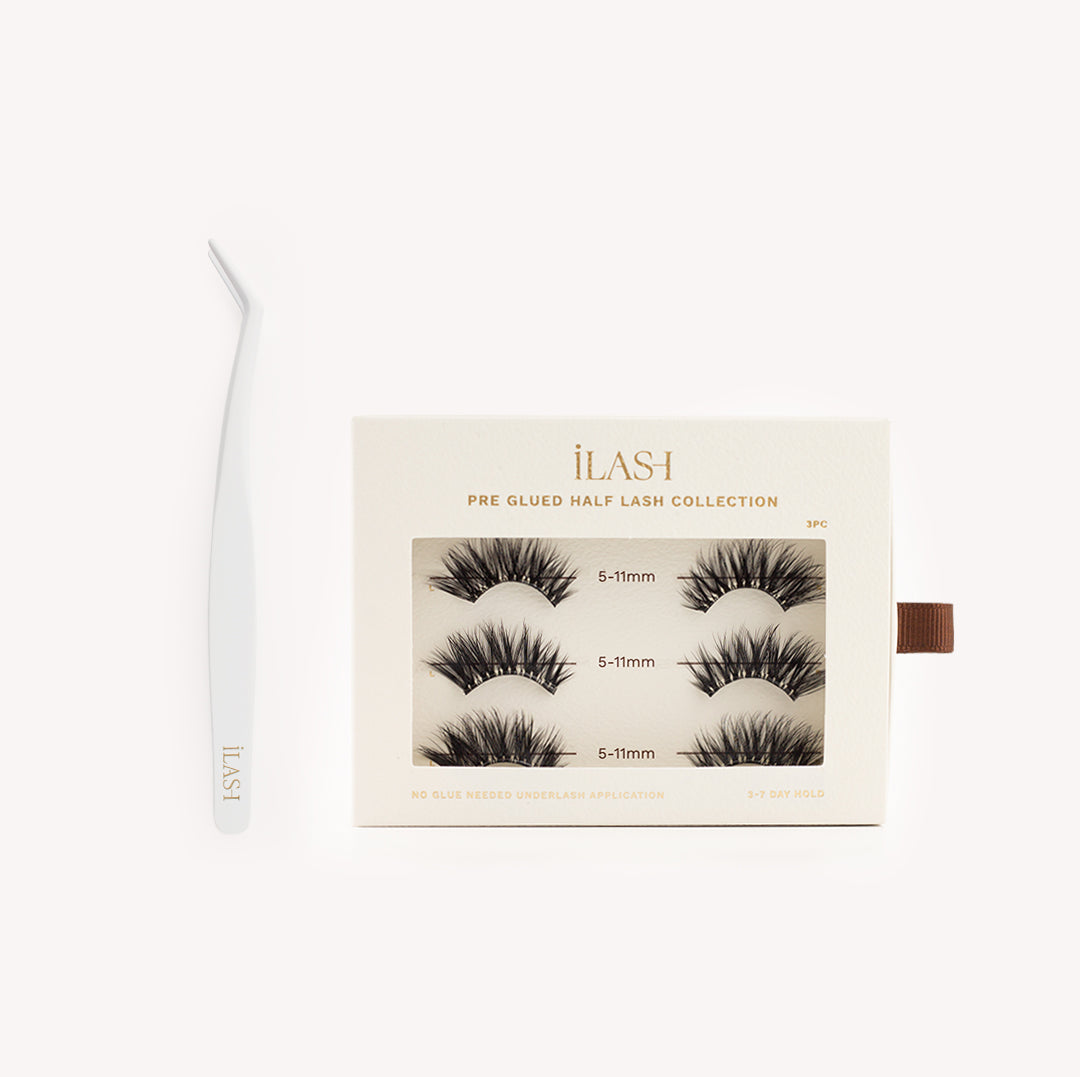
Apply our pre-glued lashes
In seconds, even if you're a beginner.
-
Peel
Gently peel from the tray, without touching the glue.
-

Apply under lash
Place the lash along your waterline, with the lash facing upwards.
-

Blink
Blink, then once the lash is on gently lift and reposition.
-

Pinch to finish
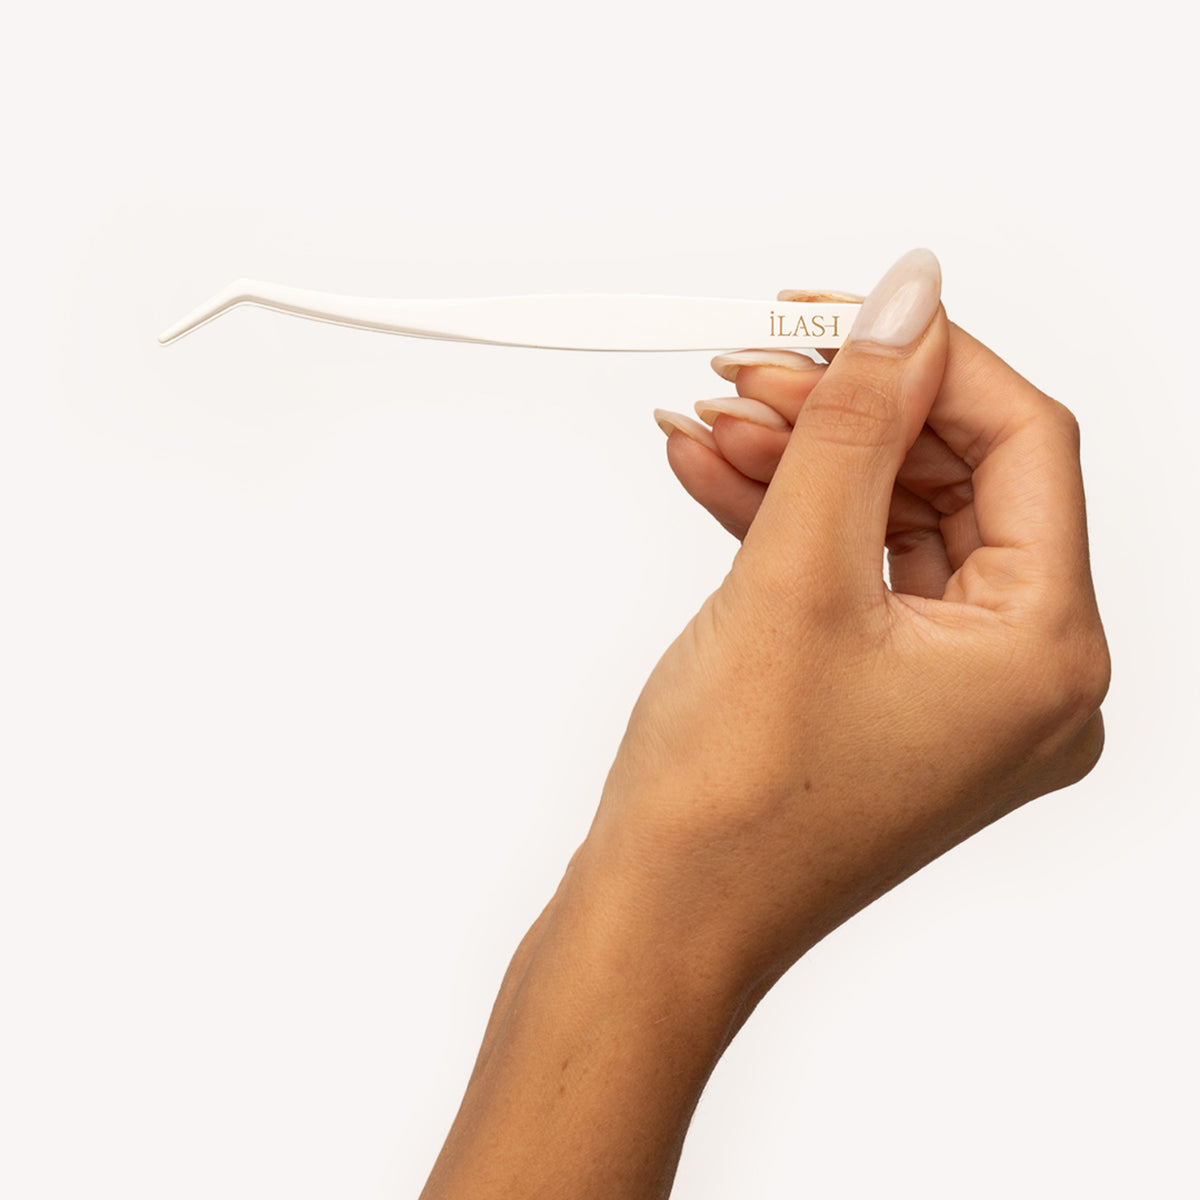
Once happy with the placement, clamp into place using our non-stick tweezers.


Apply our pre-mapped lashes
In seconds, even if you're a beginner.
-
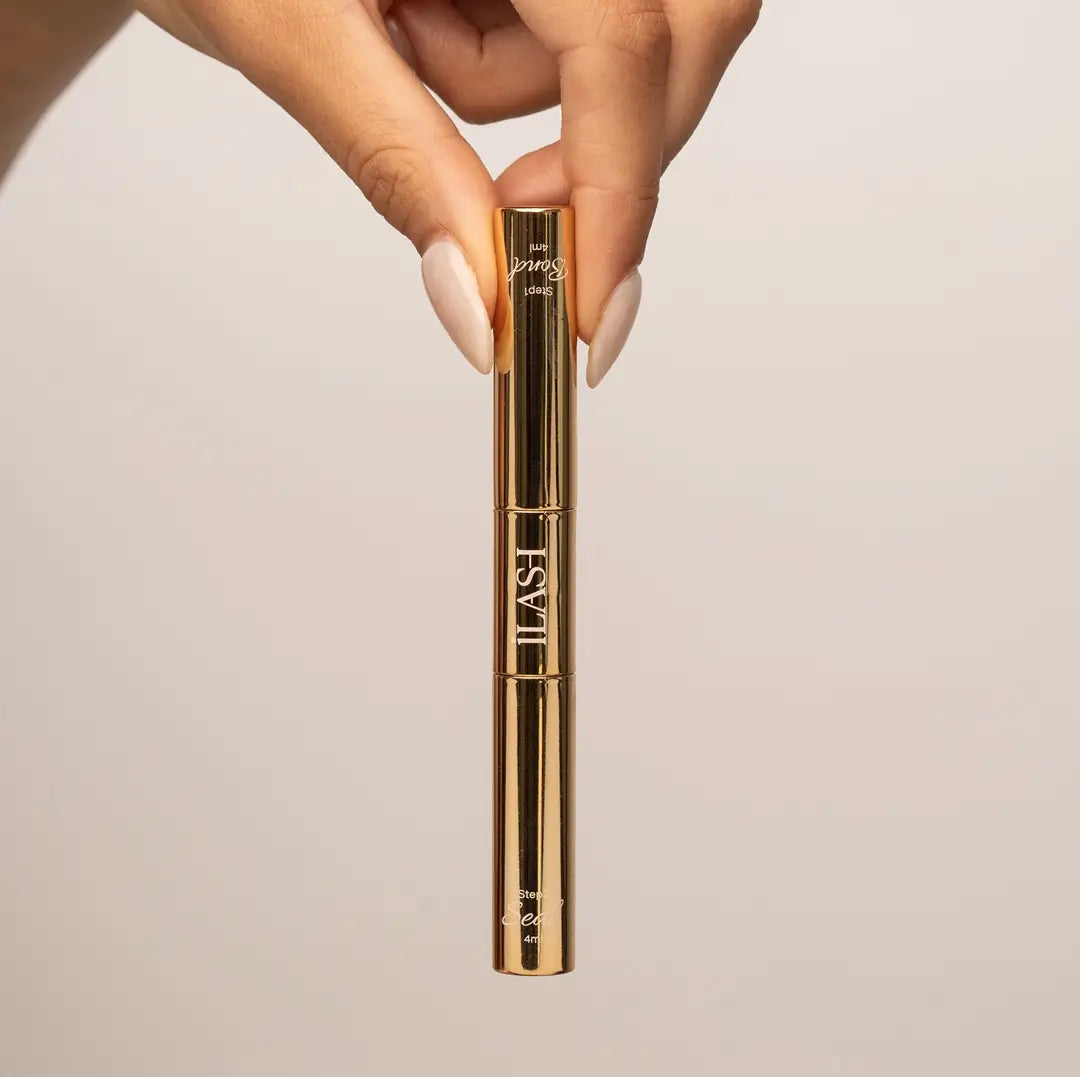
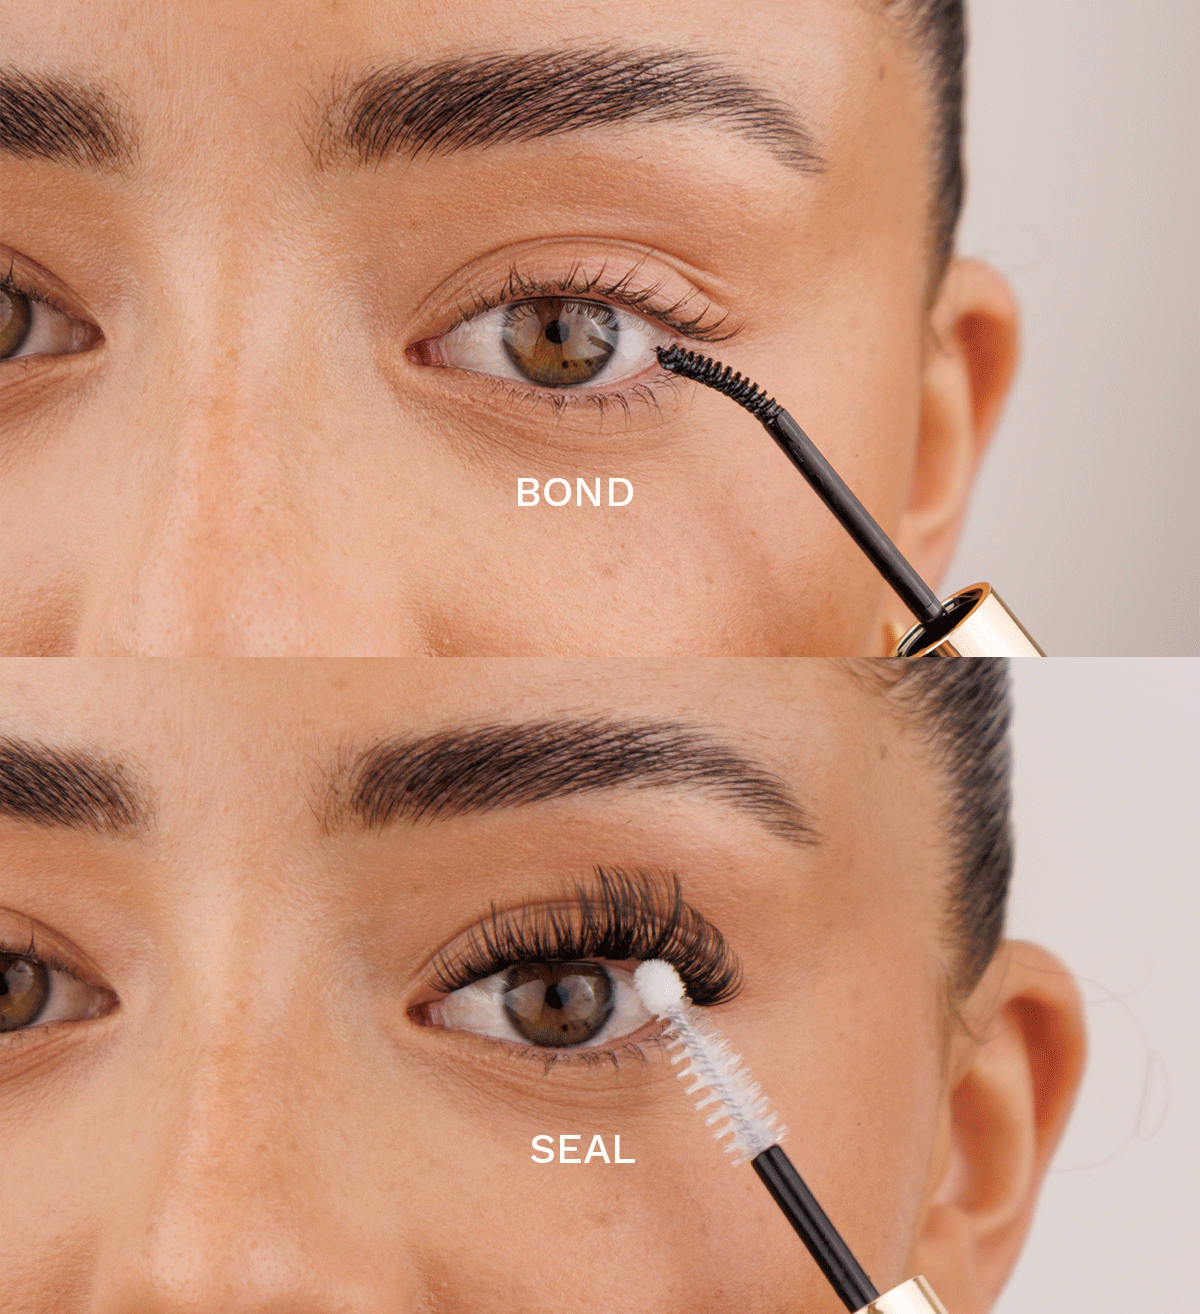
Apply bond
Apply a small amount of bond to your lashes, you don't need much.
-

Apply under lash
Apply each segment under your lashes, overlapping slightly each time.
-

Pinch
Once happy with the placement, clamp into place using our non-stick tweezers.
-

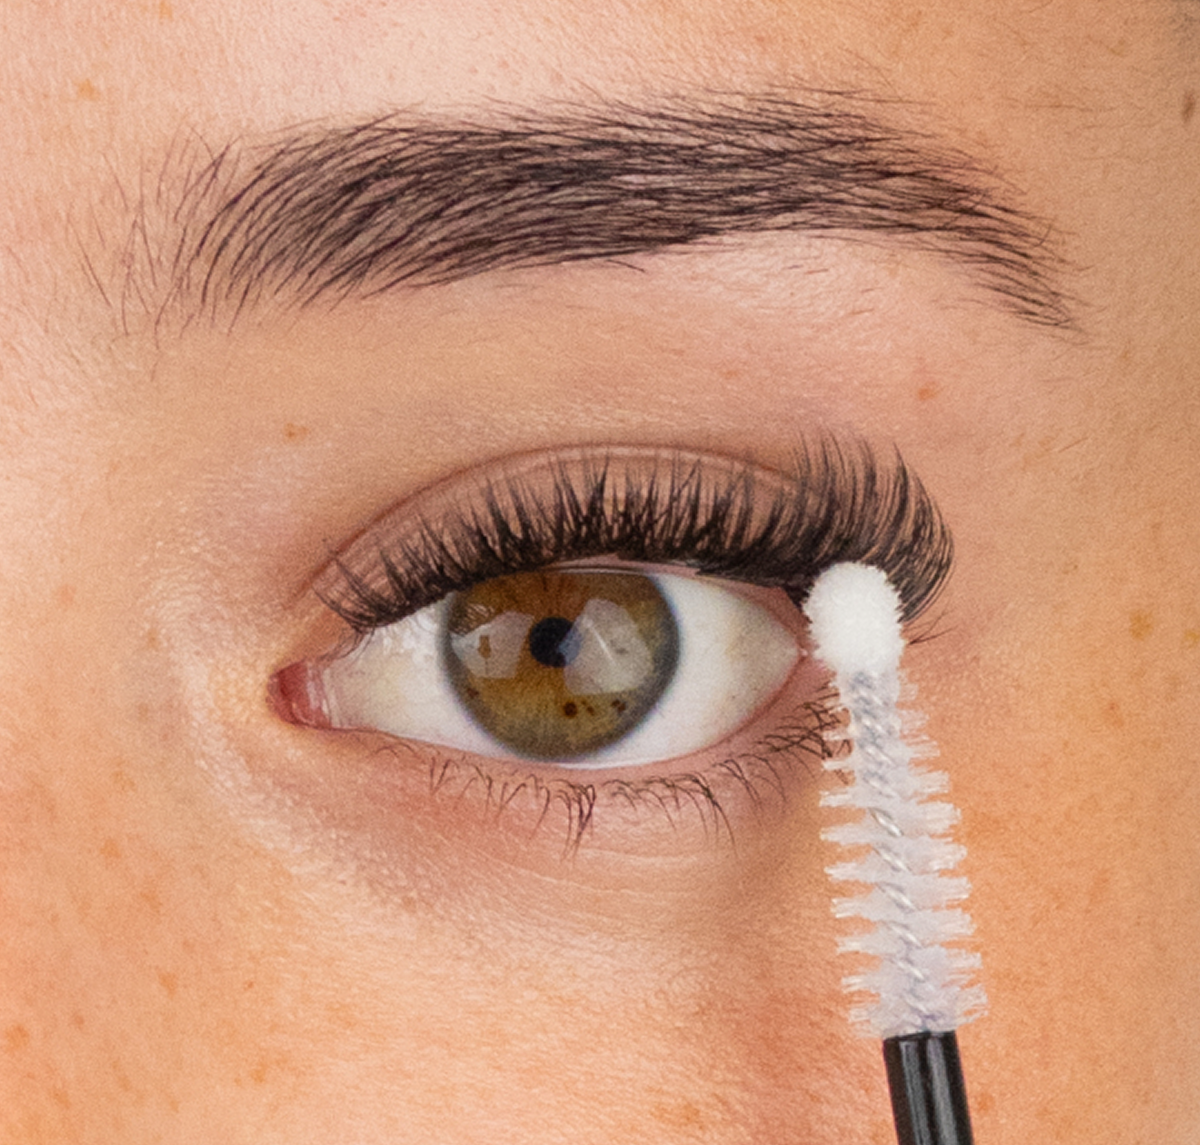
Seal
Finish off with applying a small amount of seal, this locks them into place.


New to lashes Start here
Explore Our Starter Kits

why choose ilash
about us
We’re a female-founded beauty brand, launched 5 years ago with one goal, to change the lash game.
We created salon-quality lashes that can be applied in under 5 minutes and worn for 5–7 days, eliminating the need for time-consuming, expensive salon appointments.
Designed to sit seamlessly under your natural lashes, our ultra-lightweight styles deliver an effortless, professional finish without the salon.
Need help?
Frequently Asked Questions
DIY lash extensions are individual lash segments designed to be applied at home to create a salon-inspired lash look. Unlike traditional strip lashes, the segments are applied individually underneath your natural lashes, allowing you to create a more seamless, customisable finish.
Yes. iLash offers different application methods depending on your experience and how much control you want. Our Pre-Glued lashes are designed for the simplest application, while Pre-Mapped lashes are pre-cut and mapped for you. Custom Length lashes give more experienced users the freedom to create their own lash map.
Pre-Glued is the easiest option if you want a quick, simple application with no separate adhesive.
Pre-Mapped is ideal if you want your lash map already created for you. The lashes come pre-cut into 8 segments, so there's no trimming or mapping required.
Custom Length is designed for more confident users who want to create their own lash map using mixed-length segments.
Visit our FAQ for more information and help
News
From the blog



Free delivery over 60

As seen in vogue

OVER 1000+ 5★ reviews

waterproof & sweatproof